
| Summary: | Adding an Account with Paribus Interactive for Microsoft Dynamics 365(CRM). |
| Article Type: | How-To Guide |
| Related Product(s): | This article relates to the following products:
|
| Related Article(s): |
About
In this article we will run through the use of Paribus Interactive™ with the Account Entity. The Search Rules that are being used can of course be updated through the Solution Manager, so we will be using the default search rules in the examples below. If you have updated the Search Rules in your CRM system, then your display and functionality may differ slightly from that shown in the following examples.
Creating an Account with Paribus 365
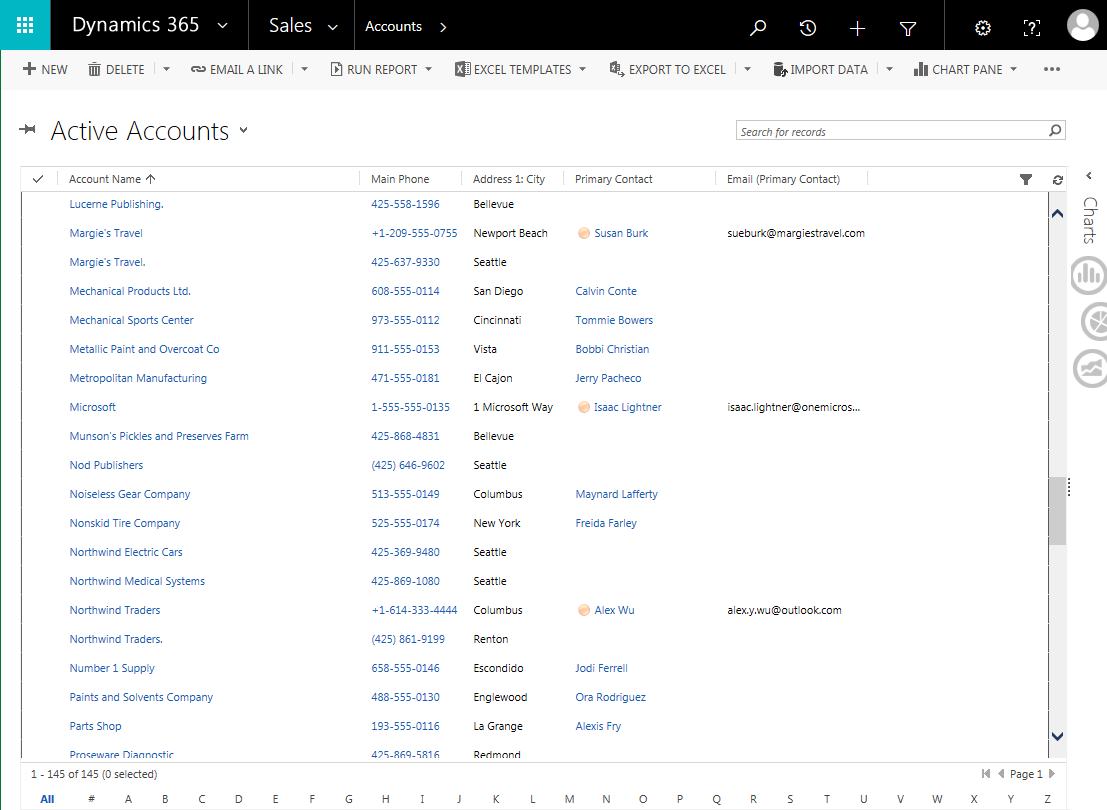
In Microsoft Dynamics 365(CRM) you can add a new Account by clicking on the “New” option on the menu at the top left of the Accounts screen (as shown in Figure 1).
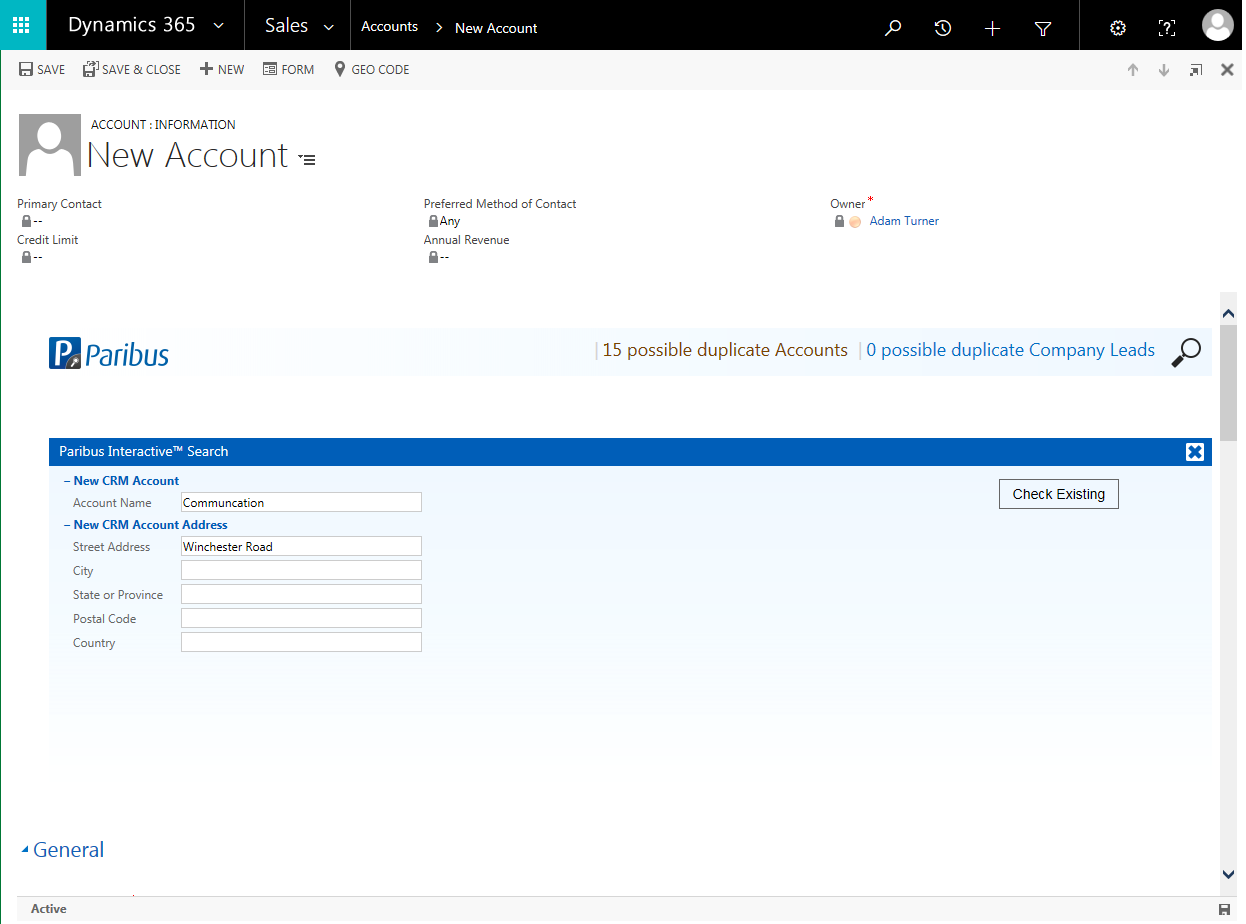
Selecting this option brings up a blank Account form, giving you the chance to enter details for the new Account. Paribus Interactive will have added two sections at the top of your form. The first being a small header section containing the Paribus logo. Whilst the second is a larger section containing one or more fields that correspond to fields lower down the form.
Figure 2 below shows the default search form when Paribus Interactive™ is connected to your Account form. The “Account Name” field in the Paribus Interactive™ section automatically has focus when the form loads. All of the fields in the Paribus Interactive™ Search have been linked to the corresponding field further down the form. For example, typing into the “Account Name” field in Paribus Interactive’s™ Search bar will simultaneously populate the “Account Name” field.
Once you have filled in all the details of the new Account, press Enter or click on the “Check Existing” button to perform a Paribus Interactive™ duplicate search.
The number of possible duplicates is displayed in the Paribus bar at the top, along with the type of these potential duplicates. These are categorised as either “possible duplicate Accounts” or “possible duplicate Company Leads”. Clicking on the “possible duplicates” text displays the results cards in the larger Paribus Interactive™ box, as shown in Figure 3.
If you want to return to the Paribus Interactive™ search view, then you need to click on the magnifying glass at the right-hand side of the results header bar. Clicking on the cross at the top-right of the search/results section will close this section, but it can be re-opened by clicking on the magnifying glass.

As shown in figure 3, the results are ordered by a percentage in each card’s bottom right hand corner. This represents a “Match Percentage”, for more information on this see this article.
For the Account search performed above, the results cards come with two actions (“Go To” and “Review”, as can be seen in the upper-right corner of each card in Figure 3. Clicking on the “Go To” action will navigate to the corresponding Account. Clicking on the “Review” action opens the Account in a new window.
If one of the Account results is for the Account that you are now creating, you can use the “Go To” button to navigate directly to that Account, thus avoiding the creation of any duplicate data. If you aren’t sure whether an Account result is for the same Account that you are creating, then you can use the “Review” button to find out more details about the Account in question, without having to navigate away from the current form.
| Further Information: |