| Summary: | This articles explains how you can set up a Custom Field as a Match condition. |
| Article Type: | How-To Guide, Technical Article |
| Related Product(s): | This article relates to the following products:
|
Custom fields – Adding as a Match condition
To be able to add a new Match Condition it is necessary to first set up a Data Set.
Navigate to “Data Sets” area in “Data Layer”. Right click in some white space and select “New Data Set”
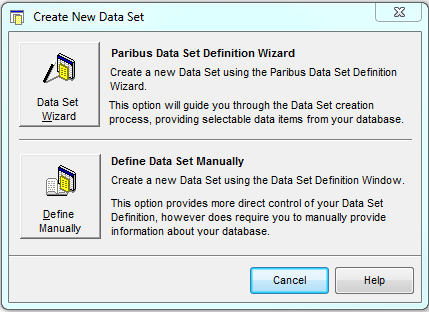
Select the “Data Set Wizard” button.
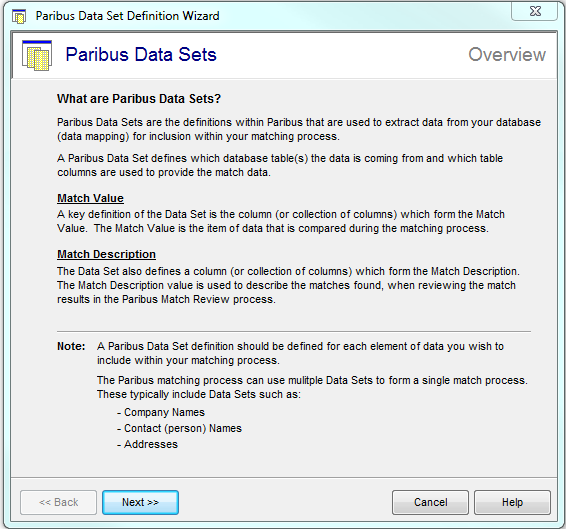
Click on “Next”
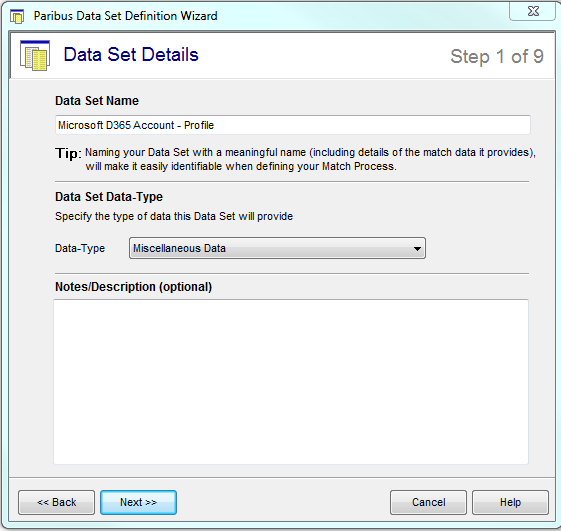
Type in a data set name to match the style of standard definitions and use the drop down to select an appropriate data type > Next
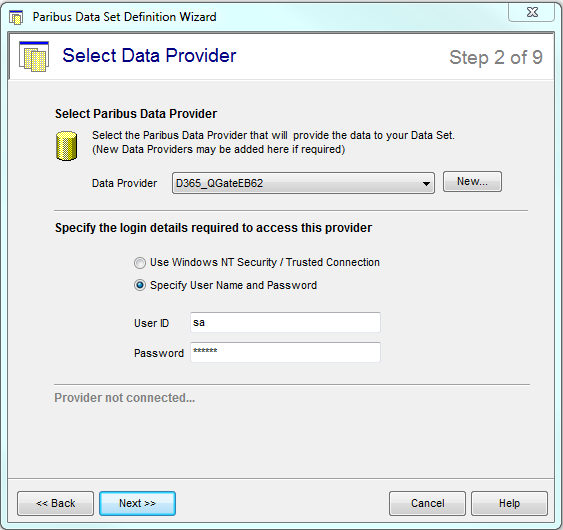
Use drop down to select data set.
Click on Next”
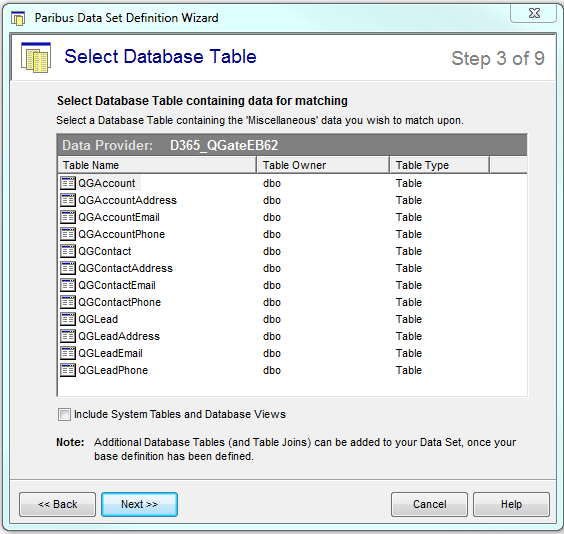
Select table which holds the field of interest.
Click on “Next”
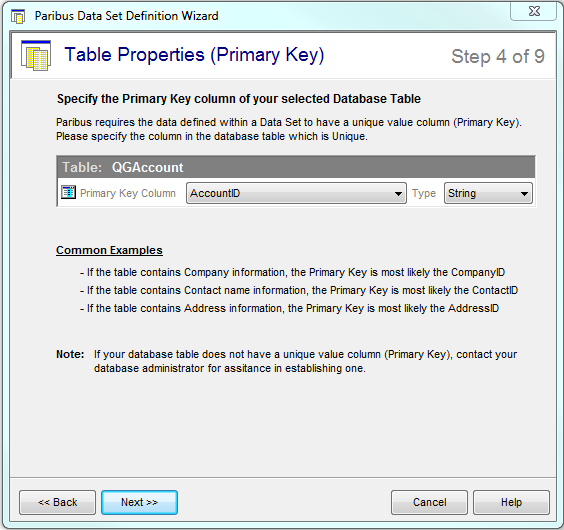
Identify the table primary key (PK).
Click on “Next”
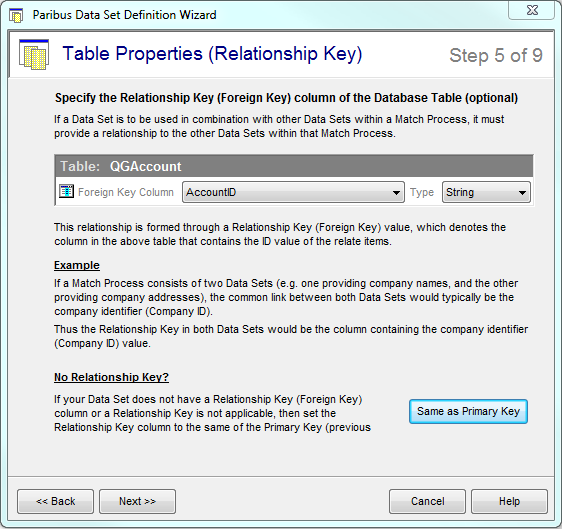
When working within one table only the foreign key column can be set to same value as PK > click on “Same as Primary Key” button.
Click on “Next”
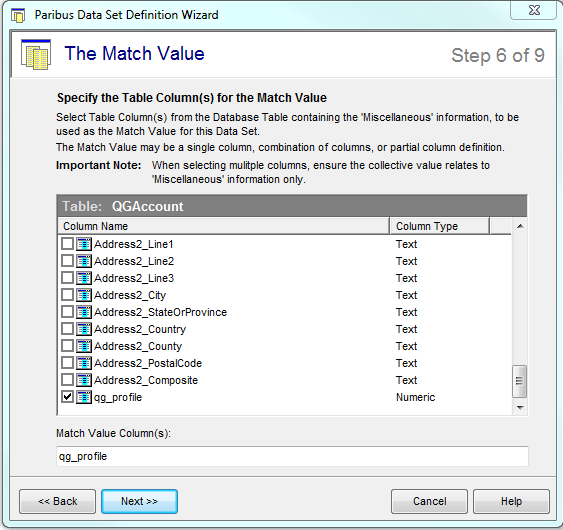
Identify the match value by checking the box next to the field of interest.
Click on “Next”
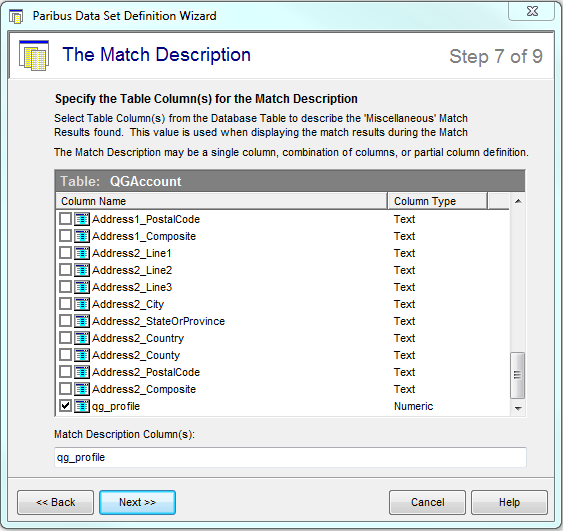
Set the description to be used for the match value. This is usually the same field as the match value.
Click on “Next”
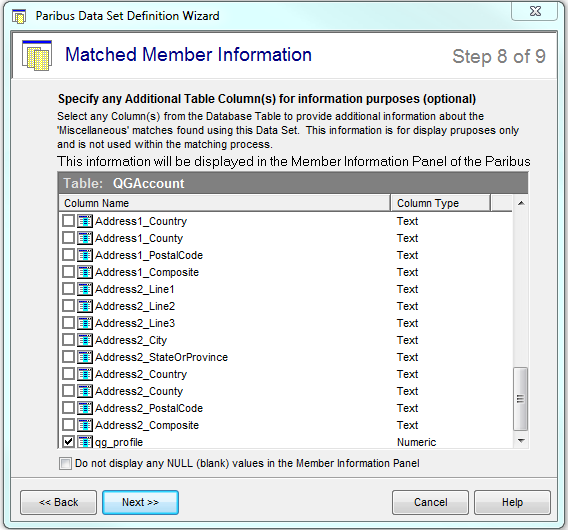
Set the value that will show in the Information column.
Note: When setting up a Data Set to be used as a condition, only select the match value to show as a piece of information.
Click on “Next”
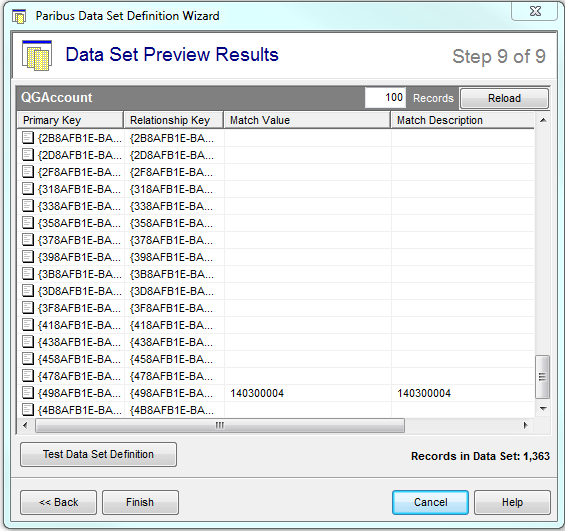
A preview of the data set is shown.
Click on “Finish” and “Close” buttons.
This completes set up of the Data Set required for the Match Condition.
Match Condition
Now we can add the Match Condition.
Navigate to “Match Conditions” area in “Matching Layer”. Right click in some white space and select “New match Condition”
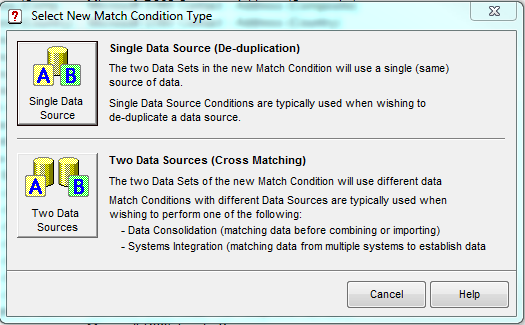
Select the appropriate data source configuration for which this will be used. In this example “Single Data Source” is used.
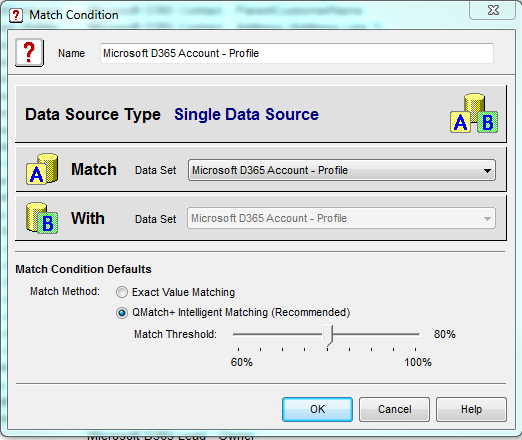
Type in a data set name to match the style of standard definitions and using the drop downs select the data set just setup Click on “OK”
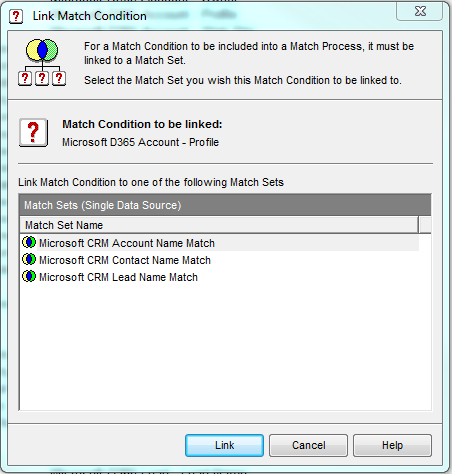
Link this new match condition to a Match Set, in this example this is the “Microsoft CRM Account Name Match”
Click on “Link”
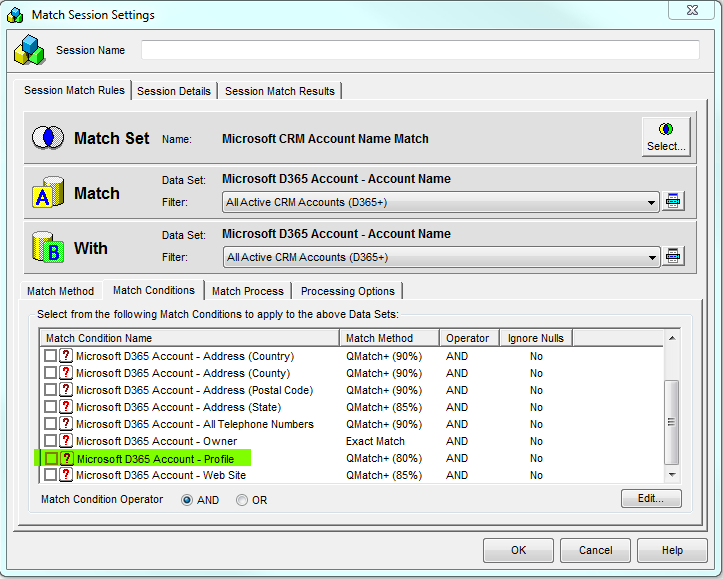
This completes the setup of the Match Condition and it will now be available when setting up a new Match Session as shown in screenshot below.
| Related Resources: | |
| Further Information: |
